
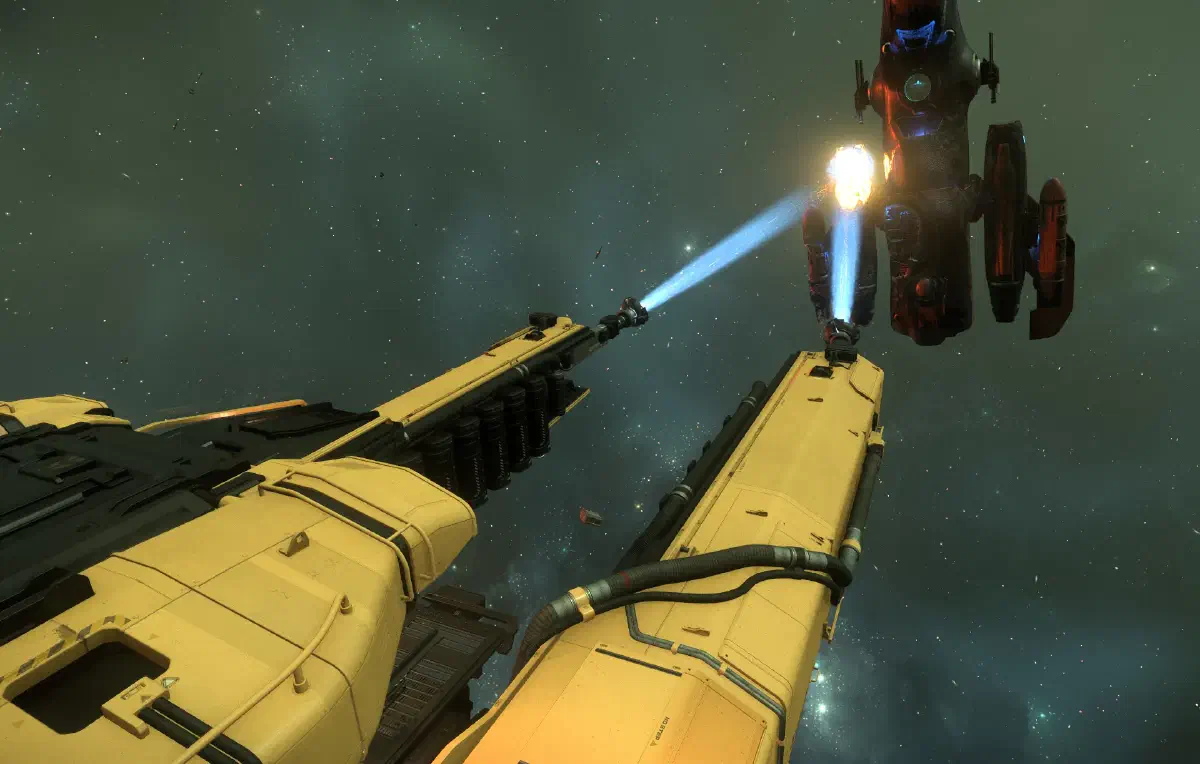
Salvage, meaning recovering shipwrecks, is one of the most profitable careers for beginners in Star Citizen. It gives you the chance to profit from destruction. You use the remains of battles, abandoned spaceships or deliberately scrapped hulls to get ship components and weapons as well as valuable materials.
Finding salvage targets
There are several ways to get at those precious resources.
Finding panels
You can find lots of panels in asteroid fields, where the miners also look for their little rocks.
These are ship parts that someone lost in space. How that happened remains a mystery, but flying drunk through an asteroid field maybe wasn’t such a great idea after all.
Press V to enter scanning mode. Then you can start scans with Tab.
By scanning with your ship, you’ll find various points with different radar signatures. This time you’re looking for radar signals (RS) whose value is a multiple of 2000. Each panel has an RS of 2000, so at a point with an RS of 8000 you’ll find four panels close together. The panels mainly give you the precious RMC material.
Finding ships
The other option is to go looking for ships, whether in space or on planets. If your scanner detects IR (infrared) and CS (cross section) in addition to RS, it’s a ship. Salvaging it could be dangerous if the ship still belongs to someone. So take a very close look around. Is the ship destroyed? Are players nearby? Does it look old? If ships have been sitting around for a while, you can even tell from the peeling paint.
First you scan the ship. That tells you whether it’s powered on and who it belongs to. If you decide to salvage the ship, you may have to get out and turn off the shields. It’s also possible to destroy the ship and collect the wreckage, but that cuts into your profit and sometimes takes longer than going into the ship and turning off the shields. And while you’re there anyway, you might as well open the ports. That lets you remove and take all the ship weapons and components.
Legal missions
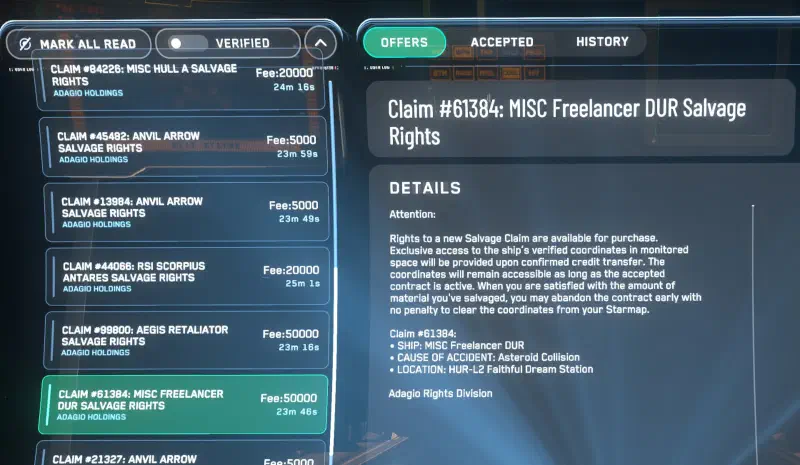
If you want to try your hand at a ship but don’t want to run into angry players, accept a mission in the mobiGlas. It costs you a fee, but it’s worth it, because you can do your job in peace and recycle the ship completely. It’s the easiest way to start this career.
Illegal missions
These work pretty much like the legal missions, except that you can come across richer loot in the wreck. Unfortunately there’s also a problem, because as soon as you accept the mission, a timer starts. The closer the timer gets to 0, the more likely it is that ships show up looking for the wreck. That could end badly for you if you’re on your own. Because with the Drake Vulture, you don’t have the power to fend off those ships. Often you’ll then have to get out of there empty-handed, so at least you make it back to your home port with some loot instead of drifting motionless in space.
And the cargo you find there often isn’t the harmless kind and can’t be sold legally. Then you have to take those valuable crates to a shady dealer, where you often run into players who’d happily take the cargo off your hands.
Ship components
If there’s a ship in front of you, you can secure its components first. Use the key combination R-Alt + K to open the ports, and then you can pull off all the parts with your tractor beam and load them into your ship.
You can see whether the ports are open or not when you scan the ship.
Later at the station, you load the parts into your freight elevator along with the material you’ve collected. That way you can sell them in any ship weapon and ship component shop on the station or on the planet.
Ship breaking
The heart of salvage is ship breaking. With special ships like the Drake Vulture, the MISC Fortune or the multi-crew ARGO Moth and Aegis Reclaimer, you can first strip a ship’s outer layer and then get to work on the core.
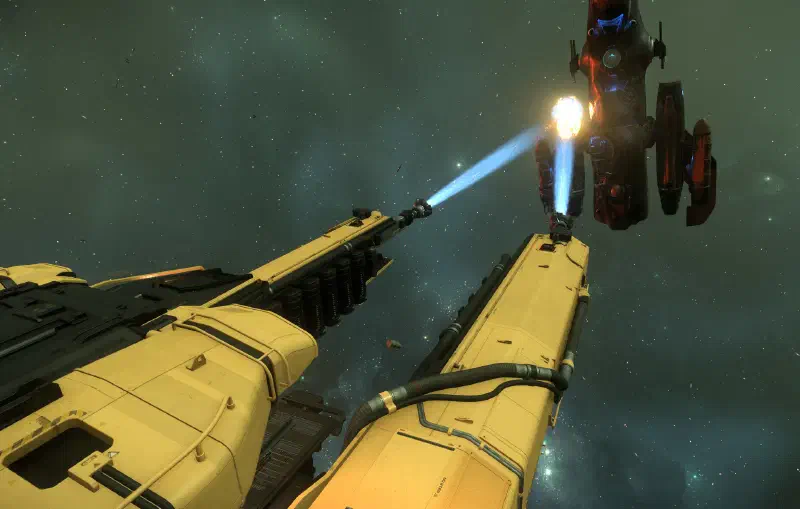
The material, Recycled Material Composite (RMC), is collected from the hull and can be sold directly later. The core material, Construction Material (CM), differs in quality and type depending on which ship you use. No matter how you mine the material, you first have to fly to a refinery station with it, much like with mining, and refine it there. Only then can you sell the resulting CM to a dealer of your choice.
Salvage materials
Different classes of salvage ships collect different kinds of CM:
- Small ships (Salvation, Vulture and Fortune) collect Rubble. This material can be processed very quickly at the refinery, but loses the most during refining.
- The medium-sized ARGO Moth collects Pieces. It’s in the middle in terms of refining time and processing loss.
- The big Aegis Reclaimer gets the highest yield after refining with Salvage, but also has the longest processing time.
You can also use the material in your ship’s buffers to craft various items (currently only the Multi-Tool and its attachments). It’s hardly worth it, since the material used is worth more than the item you make with it. But if you’re ever missing a Multi-Tool and don’t want to fly back to the station just for that, it’s a good option.
Salvage ships at a glance
| Ship | Material | Cargo | Info |
|---|---|---|---|
| RSI Salvation | RMC & Rubble | 6 SCU | Two non-swappable salvage lasers |
| Drake Vulture | RMC & Rubble | 12 SCU | Two swappable laser heads. Buffer has to be emptied manually. |
| MISC Fortune | RMC & Rubble | 12 SCU | Only has one swappable laser head, but still strips roughly as fast as the Vulture. Automatic buffer output. |
| ARGO Moth | RMC & Pieces | 224 SCU | Pilot-controlled salvage arm and three crewed salvage turrets. |
| Aegis Reclaimer | RMC & Salvage | 420 SCU | Pilot-controlled salvage arm and two crewed salvage turrets. |
On the test server (PTU), all salvage ships get bigger material buffers: Salvation 6 → 8 SCU, Vulture 13 → 16 SCU, Fortune 13 → 14 SCU, Moth 64 → 240 SCU and Reclaimer 240 → 448 SCU. The new values apply once 4.10.3 goes live (patch notes).
Solo salvaging
Solo players can choose between three ships for salvage: the RSI Salvation, the Drake Vulture and the MISC Fortune.
The RSI Salvation is the starter ship of the bunch. It’s small, agile and has two non-swappable salvage lasers. It currently can’t be bought in-game, which is why I won’t go into it any further here.
The other two ships of the solo class can be bought at New Deal in Lorville. Each has an internal material buffer of 13 SCU and an official cargo capacity of 12 SCU. When the internal buffer is full, you can turn it into boxes and stack them in the cargo hold. Then you can fill up the buffer again and fly to the station.
MISC Fortune
The Fortune is a salvage ship for solo players based on the Prospector. Its big advantage: once you’ve filled the buffer, you can start the two printers at the push of a button, and they automatically attach the RMC containers they output to the ship’s outer hull. That completely does away with unloading the buffer by hand, and you can look for more targets right away. By the way, with the starter pack you get the Fortune on loan for 30 days.
Drake Vulture
Drake’s Vulture, on the other hand, is a bit more cumbersome. When the buffer is full, you have to climb down a ladder into the cargo hold and fire up the printer there.
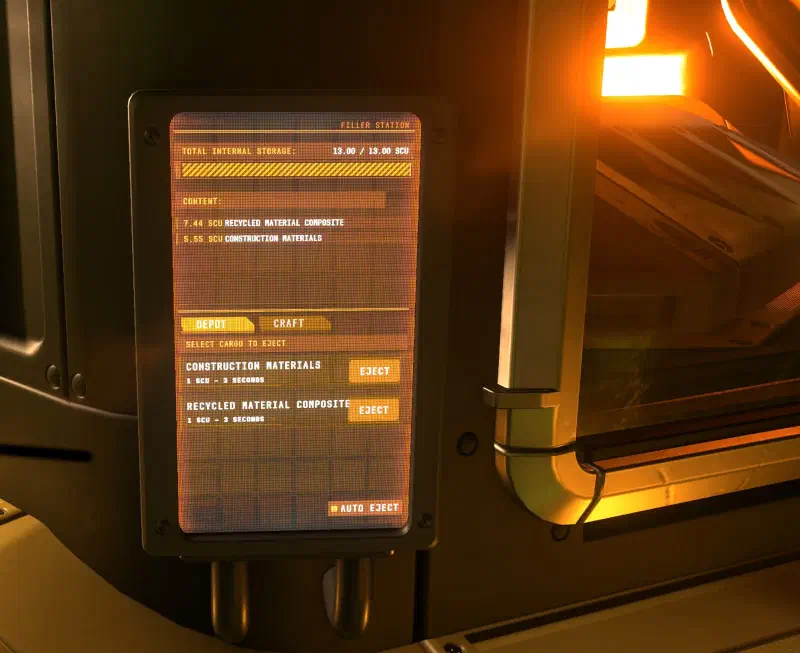
Then you use the hand tractor beam of your choice to move the boxes from the output area into the cargo hold and stack them there.
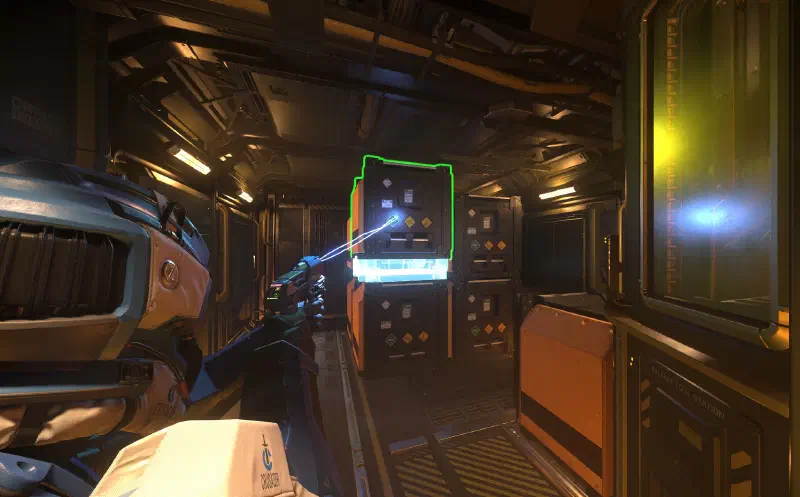
The advantage of this cargo hold, though, is that you can put extra boxes in the corridor and significantly increase the Vulture’s cargo capacity.
Verdict
Both ships have their pros and cons. On top of the ones already mentioned, the Fortune can take more punishment, while the Vulture is a bit more agile and reaches higher speeds.
But what you ultimately go for is up to you. The Fortune is more for relaxed salvage trips. You sit in the pilot seat and hardly have to do anything except aim your salvage beam. In the Vulture, you have to get out every now and then and move the cargo. In return, you come home with more material and manage a bit more material per hour than with the Fortune.
Whichever you choose, I recommend buying the Abrade Scraper Module and fitting it to the ship of your choice. These modules are a good compromise between speed, area of effect and efficiency, and they speed up your ship’s material stripping.
Controls
Position your ship so that you have the entire wreck (or, for bigger wrecks, just part of it) in front of you, activate salvage mode with M and press G. That way the mouse only controls the scrapers and your ship stays still.
Activate your scrapers with the left mouse button and then move your mouse over the wreck or panel. You’ll see the hull slowly peel away and disappear into your buffer. With Right click you switch to the second set of your scraper tools. That includes a tractor beam or another scraper module, depending on what you’ve equipped.
On the Vulture, you can also activate just one of the two lasers by pressing L-Alt and the A or D keys. That lets you activate the tractor beam on its own, for example. L-Alt and S activates both heads again.
Once you’ve finished one side, press G again and move on to the next part or the next side of the ship.
Once you’ve stripped the hull, the remaining frame is next. Switch to Fracture Mode with L-Alt and W and start the process with the left mouse button. The wreck breaks into smaller pieces, which you can then suck up in turn.
Final tips
- Use Abrade salvage heads, available for example at Platinum Bay on the stations HUR L2, L3 and L5, CRU L1, L4 and L5 or ARC L1.
- In asteroid fields, don’t fly too far from these stations and look for panels there. That keeps your flight paths as short as possible and saves time.
- Panels have a radar signal (RS) of 2000 or a multiple of it. The bigger the number, the more panels you’ll find in one spot. Look for signals like that and fly there.
- Get stealth components and switch off anything unnecessary, like weapons, to lower your signature. That also lowers the chance of being spotted and attacked.
- If you use missions to find ships, check their cargo hold too. The ships sometimes contain valuable cargo that you can sell well.
- Park your ship so that you can load the cargo straight into the freight elevator.
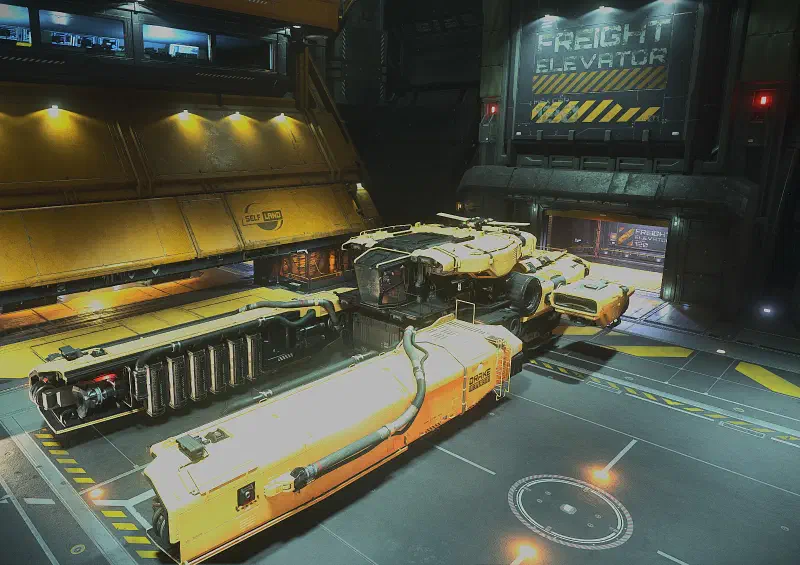
Save time unloading by landing right next to the freight elevator
Keybindings
Ship controls
| Key(s) | Action |
|---|---|
U | Toggle ship power |
I | Toggle engines |
O | Toggle shields |
P | Toggle weapons |
W / S | Forward / back |
A / D | Strafe left / right |
Q / E | Roll |
X | Brake |
L | Toggle lights |
R-Alt + L | Turn on night vision |
L-Alt + N | Request takeoff or landing clearance. Opens the hangar for your ship |
L-Alt + C | Cruise control - set target speed with W and S |
L-Alt + F | Open action menu |
N | Extend or retract landing gear |
L-Shift | Activate afterburner |
Tab | Scan pulse |
K | VTOL mode |
C | Toggle coupled mode |
B ⇓ | Change flight mode: SCM and quantum mode |
R-Alt + K | Open component ports |
Middle mouse button | Change sub-mode: combat mode, missile mode and scanning mode |
Y | Get out of the seat |
R-Alt + Y | Activate ejection seat |
Mouse wheel ⭥ | In scanning mode: Adjust scan range |
Left click ⇓ | In quantum mode: Start or stop quantum travel |
R | In map view: Set route to the currently selected marker. |
⇓ - hold
⭥ - scroll
Salvage
| Key(s) | Active mode | Action |
|---|---|---|
V | Activate scanning mode | |
Tab | Scan | Send out a scan pulse to survey your surroundings |
G | Toggle gimbals: when on, the mouse only aims the salvage lasers, otherwise the whole ship | |
M | Activate salvage mode | |
Left click | Salvage | Activate selected tools |
Right click | Salvage | Switch tools |
L-Alt + A | Salvage | Toggle left tool |
L-Alt + D | Salvage | Toggle right tool |
L-Alt + S | Salvage | Toggle both tools |
L-Alt + W | Salvage | Switch to fracture tool |