
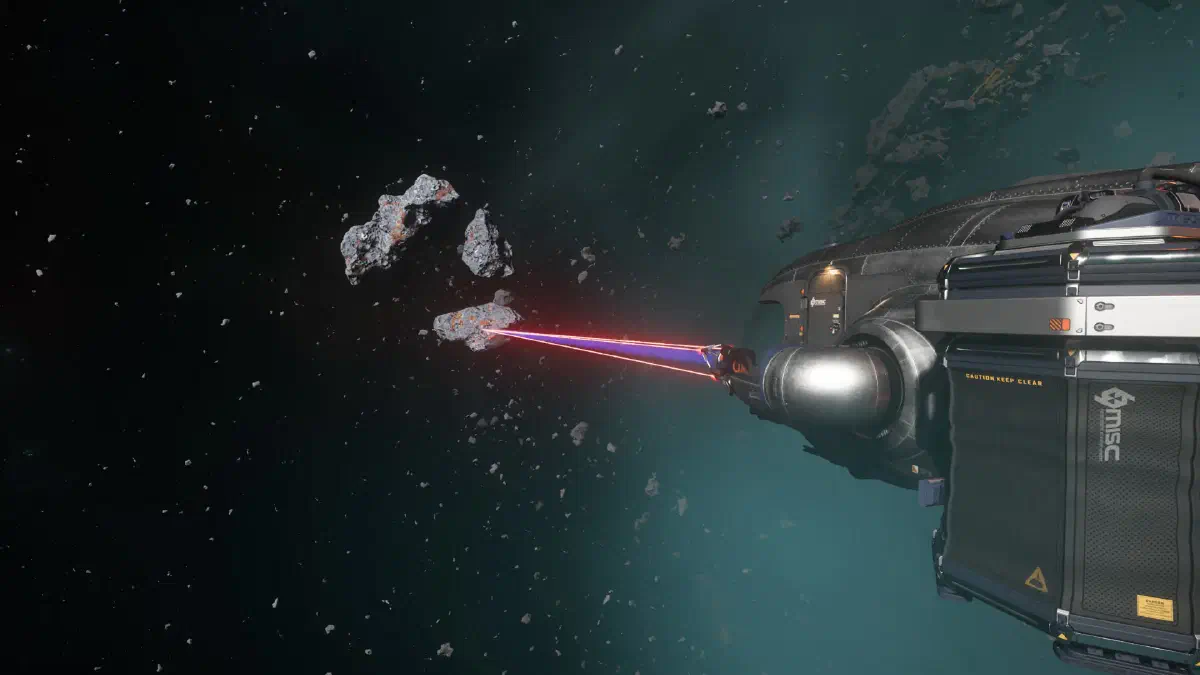
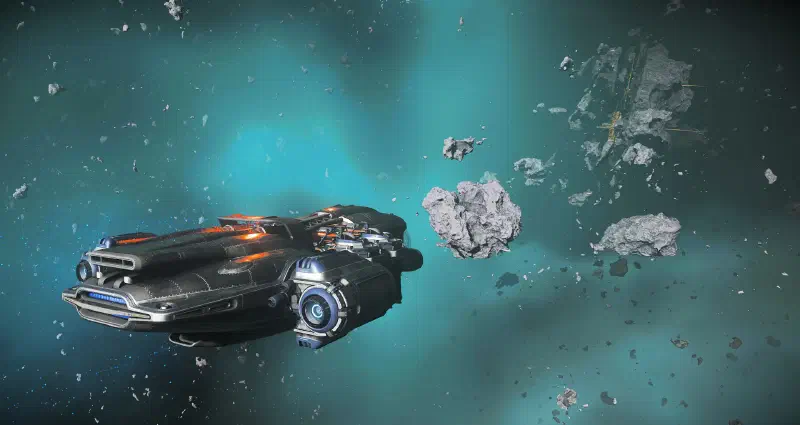
Your ship
To mine, you first of all need a suitable ship. There are currently two ships designed for a single pilot: the MISC Prospector and the Drake Golem. The Golem is a cheap starter ship. If you buy the starter pack, you even get it on loan for 30 days and can try out mining at your own pace.
Both ships have the same 32 SCU ore hold. The Prospector’s advantage over the Golem is that its laser mining head can be swapped. So you can adapt it to the rocks of your choice.
You can increase a Prospector’s ore capacity from 32 to 48 SCU by swapping its ore pods for those of the Mole!
Besides these two ships, you can also use the ARGO Mole. Especially when you’re out with friends, it lets you crack the biggest and most stubborn rocks. It has three laser heads that can work on a mining node individually or together, plus plenty of cargo space for the ore.
Solo pilots sometimes fly the Mole too. But that means a lot of running around, since you always have to switch from the pilot seat to a miner seat. In return, you can preconfigure the three lasers differently so you’re prepared for every kind of rock.
Use the stealth mechanics to your advantage so nobody finds you.
Accessories
If you have enough aUEC, I’d get yourself a MISC Prospector. You can either buy it for about 2,783,020 aUEC at New Deal in Lorville on Hurston or rent it at a refinery station. Rental prices are around 50,000 aUEC for one day (real time). Then you can also buy four ore pods for the Mole. If you attach them to your Prospector with your tractor beam in the hangar, you increase your mining volume to 48 SCU.
Mining heads
You can also buy a new laser mining head in the refinery shops. Which one you take is up to you. If you want the maximum possible power output, the Helix I is the strongest mining head. In return, it has a short range and a much smaller optimal window that you have to hit while mining. That makes it harder to use. However, it also has two slots for modules.
Modules
You fit modules into the slots of the mining heads to change their properties. There are passive modules that change these properties permanently. The active modules can do it much better, but only for a short time. You can also only activate an active module a few times before it becomes unusable. Then you have to replace it.
An active Surge module, for example, increases your ship’s laser power by 50 %, but only seven times for 15 seconds each. The passive Rieger-C3 module increases the power permanently, but only by 25 %.
Gadgets
In addition to modules, you can also use gadgets to change the rock’s properties. Interesting ones are the Sabir, which halves the rock’s resistance, the Waveshift, which doubles the optimal window, and the OptiMax, which makes the rock shatter so the materials stay together better and you suck up less useless filler material.
The nice thing about gadgets is that they’re reusable. After you’ve processed the rock, you can get out and pack up the red-flashing gadget again. So you can put one of each gadget in your ship’s inventory and pick the right one depending on the situation.
Finding resources

A good way to find rocks is to head to a refinery station. There you can also set your respawn point in the med bay in case something happens along the way. Request takeoff clearance with your ship and you’re already in an asteroid field. Now fly in one direction for a while and regularly scan ahead in a 45° cone.
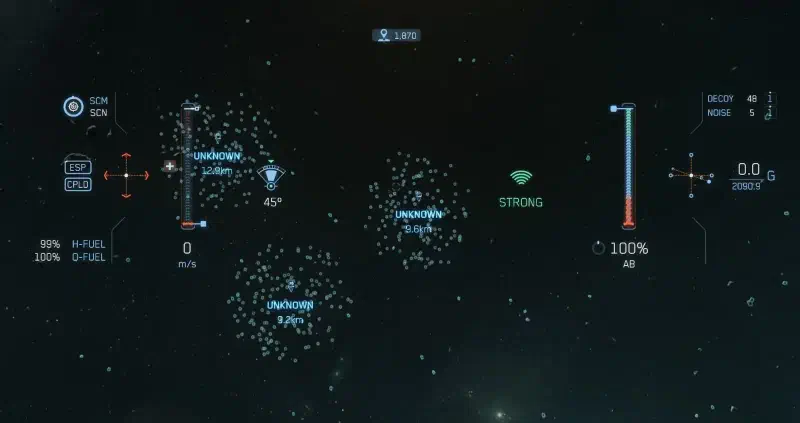
Look for unknown points with an RS value that isn’t a multiple of 2000. Those are asteroids you can mine. Once you’ve found a point like that, fly there and scan it up close in mining mode.
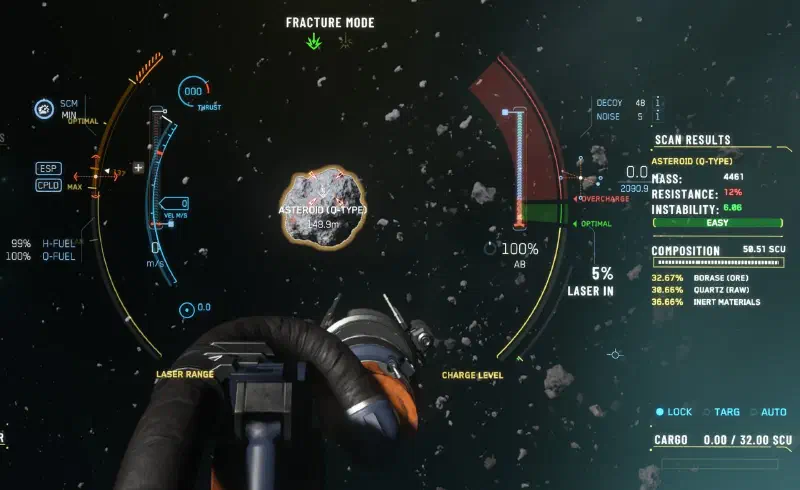
Press M to get into mining mode. In the rock overview on the right, you can also see right away how hard it will be to crack this rock, from easy to impossible. Once you’ve found a rock, it’s time to mine.
Mining
If you want to use a gadget, get out, fly to the asteroid and attach the gadget to it. Now you have to adjust the waves shown until they turn green. It doesn’t have to be perfect, gadgets are either active or not.
Then you get back in your spaceship and start mining with Left click.
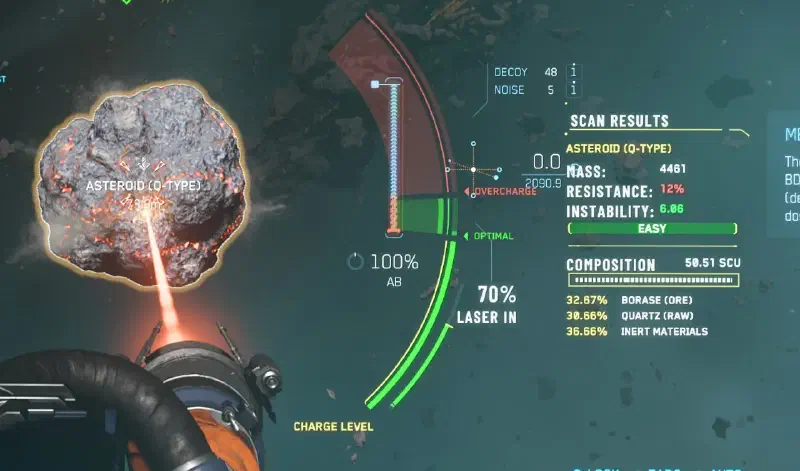
Just like with the other types of mining, you try to keep the rock’s energy level in the green zone until it shatters.
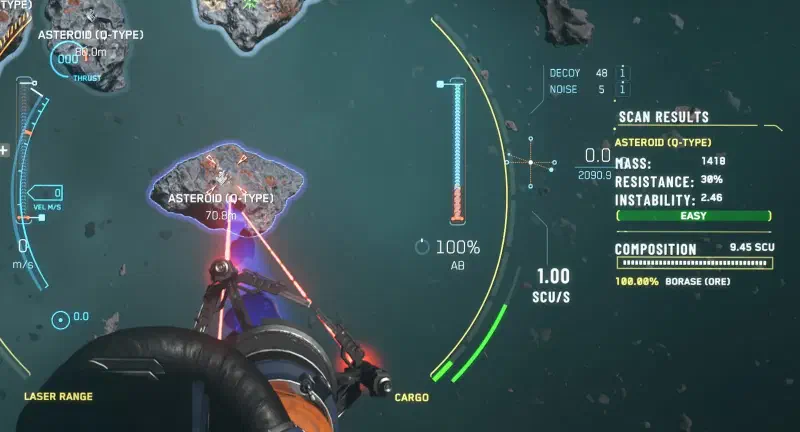
You now have to scan the small fragments once more, because the composition of these rocks can vary a lot. Some even contain nothing but filler material and won’t make you any profit at all. Those you can leave behind.
Resource quality and crafting
Besides the sheer quantity, the quality of the resources matters too. It’s given on a scale from 1 to 1000. Higher-quality materials are especially important for crafting, because only resources with a quality above 500 lead to crafted items that are better than bought ones.
So you have to decide: do you only want to collect high-quality resources to sell to players or use yourself? Or do you just want to fill your cargo hold to make quick money from the NPC dealer?
Mining Quantanium
Only rarely will you come across a rock with Quantanium. It’s then also shown in red in the rock’s information.
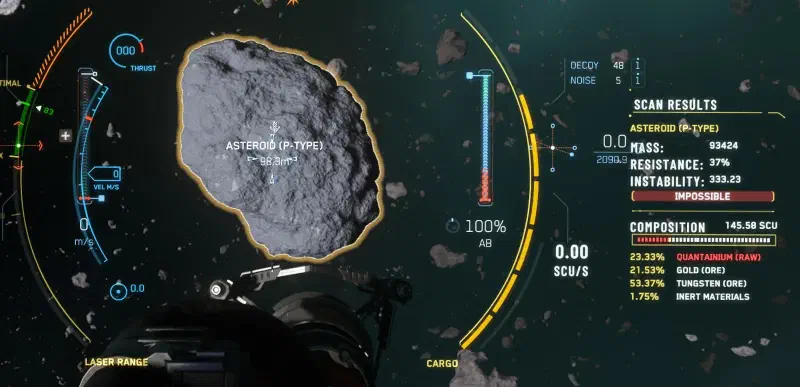
Quantanium is a volatile substance and very valuable. As soon as you have the first gram of it in your cargo hold, a timer starts. You now have about 25 minutes to get the Quantanium to a refinery. If you don’t make it, your cargo hold explodes. If the timer is almost at zero, you can jettison your cargo with L-Alt + J just before.
Smaller and bigger accidents also reduce the timer, so fly especially carefully. As soon as you’ve landed your ship, send it down with the Store button. That slows down your timer considerably again. Then go into the refinery and start the processing job. That keeps you and your ship safe.
Since the timer already starts when you begin collecting the Quantanium, you should prepare everything first:
- Scan all the rocks nearby to see if there’s more of it around.
- Break up all the rocks first without collecting them.
- If you don’t have enough cargo space for all the rocks, start with the ones with the highest Quantanium content.
Refining
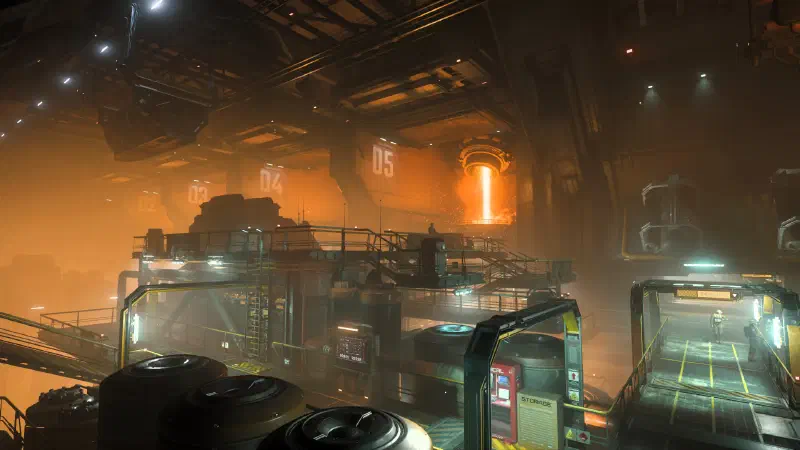
When you mine with a ship, you have a choice after your trip. If you urgently need money, you can sell your haul right away at the refinery. That gives you a lower return, though. If your time and finances allow it, you’re better off starting a refining job.
To do that, leave the ore sacks on your ship after landing and head to the refinery. There you go into the administration above the shop, select your ship at the terminal there and then the processing method.
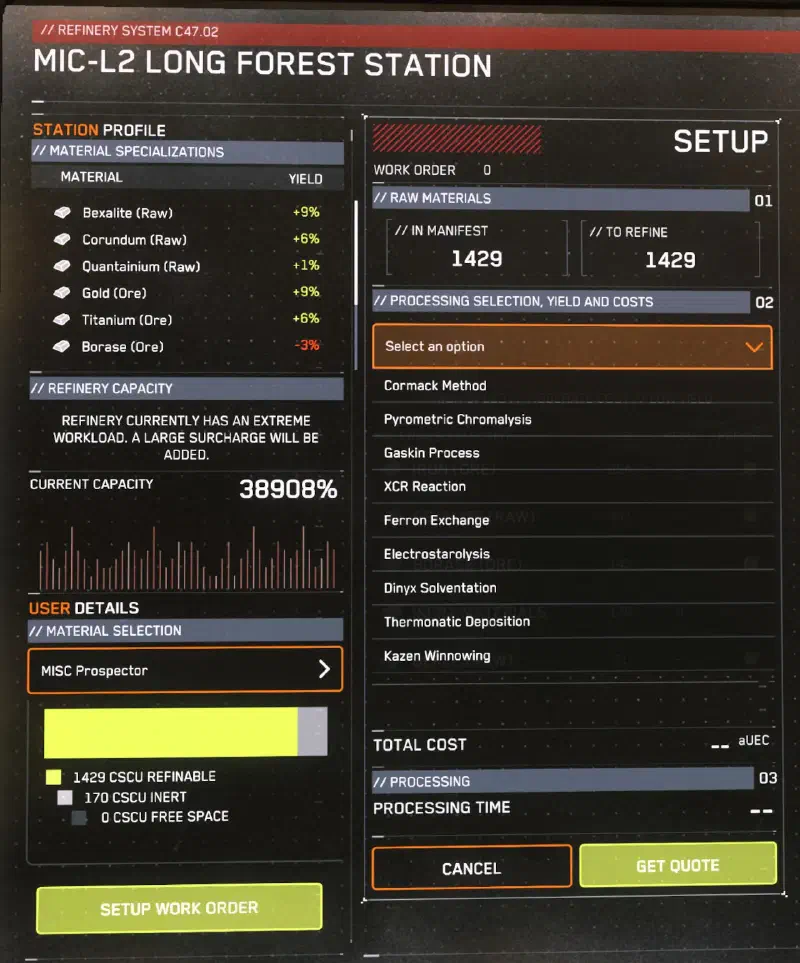
The methods differ in yield, cost and time. The maximum yield takes quite a while, though. In the meantime, you can fly another one or two trips and get more ore.
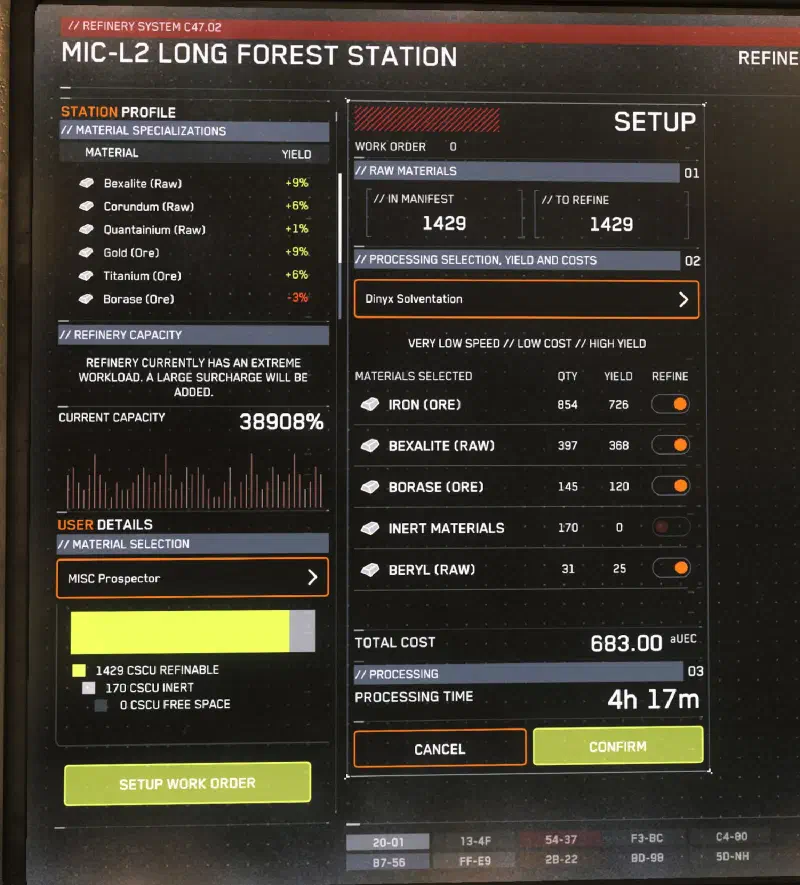
You can have only the most valuable materials refined, or all of the ones you have with you. The filler material (inert materials) gets thrown out, though.
You can start as many jobs at once as you like.
Once your job is done, you pick it up. The material is loaded into boxes and put in the station inventory. From there you load it into your cargo ship and take it to the Trade and Development Division (TDD) on one of the planets. There you can finally cash in on all your hard work.
Keybindings
| Key(s) | Active mode | Action |
|---|---|---|
Tab | Send out a scan pulse to survey your surroundings | |
V | Activate scanning mode | |
Mouse wheel ⭥ | Scan | Narrow or widen the forward scan angle |
M | Toggle mining mode | |
Mouse wheel ⭥ | Mining | Laser power up/down |
Left click | Mining | Activate laser |
L-Alt + Left click | Mining | Switch laser type between fracturing and extraction |
L-Alt + 4 | ATLS GEO | Switch between high and low mode to collect hand-mining and ROC-mining rocks |
⭥ - scroll
Show all keybindings